Creating a Workflow
This guide walks you through creating a new UpDoc workflow end-to-end. By the end, you’ll have a configured workflow with a sample source document, ready to start mapping.
This is a workflow author task — done once per document type / blueprint / source type combination. If you’re a content editor just wanting to create documents from existing workflows, see Creating Documents from Source instead.
Before you start
Section titled “Before you start”Make sure you’ve got these in place:
- A document type for the content you want to create (e.g. Tailored Tour)
- A blueprint for that document type, with the block grid already arranged as you want it
- A sample source document in your media library — in this example, a PDF
If anything is missing, see Setting Up a Workflow for prerequisites.
Step 1 — Navigate to UpDoc
Section titled “Step 1 — Navigate to UpDoc”From the Umbraco backoffice, click the Settings section in the top nav. In the Settings tree, find the Synchronisation group (it sits between Templating and Advanced) and click UpDoc.
Step 2 — Open the Workflows dashboard
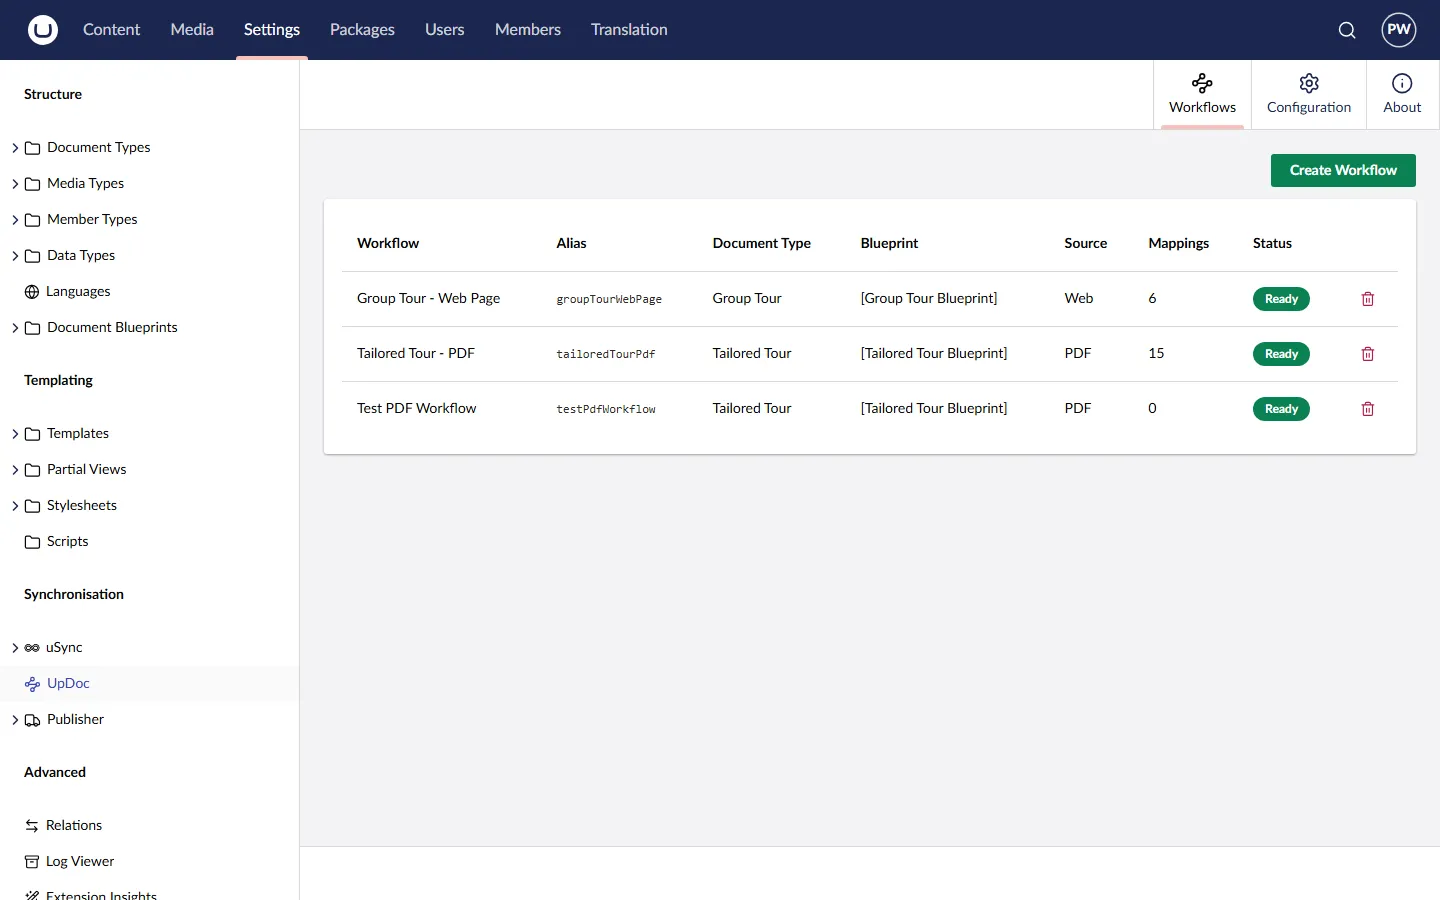
Section titled “Step 2 — Open the Workflows dashboard”The main panel shows the UpDoc dashboard with three tabs: Workflows (active by default), Configuration, and About. The Workflows tab lists any existing workflows along with their document type, blueprint, source, mapping count, and status.
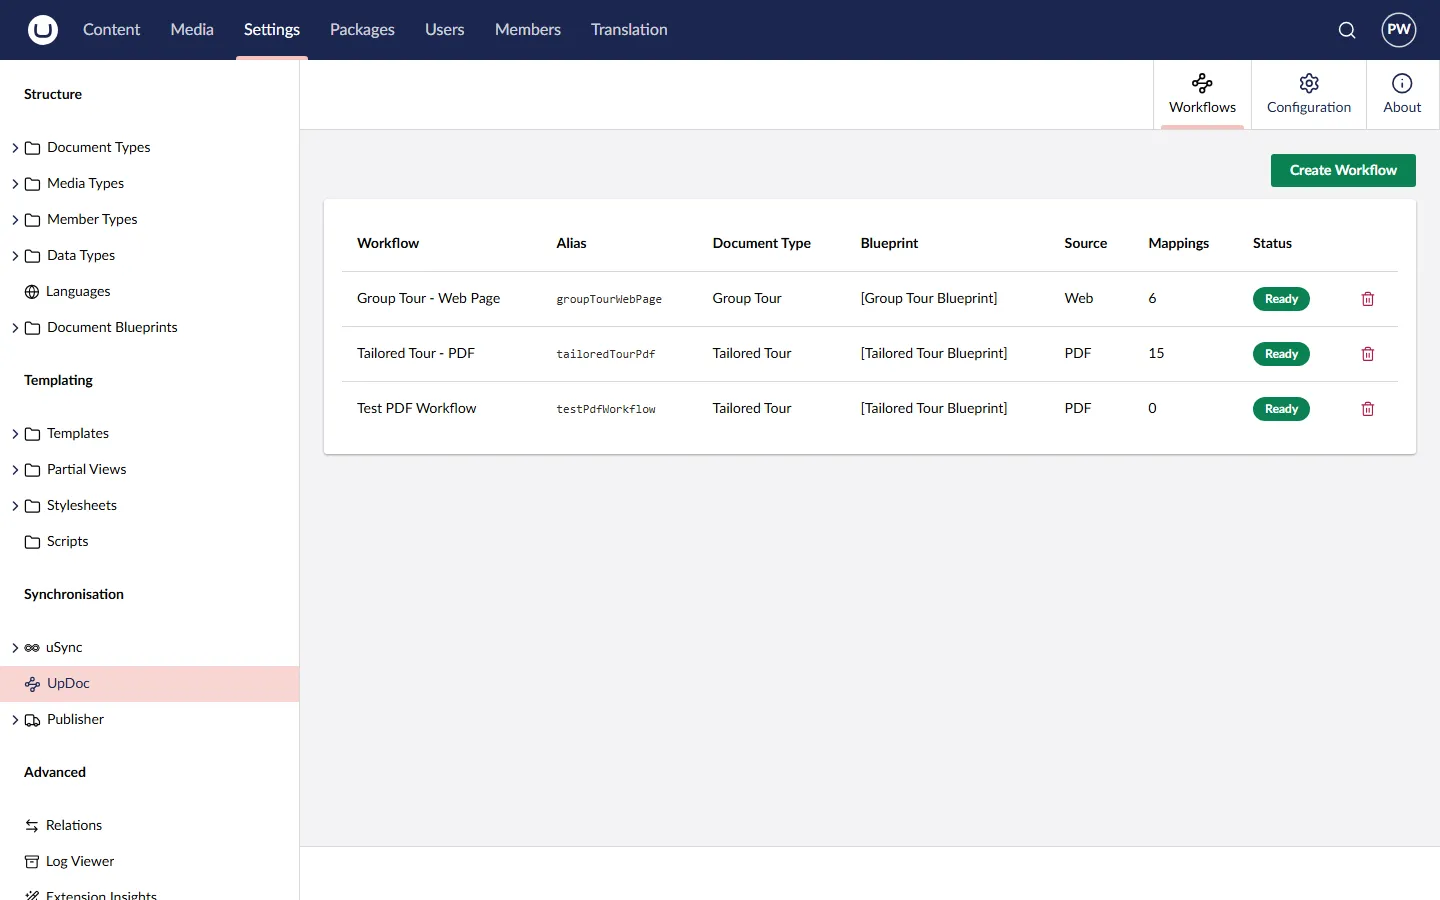
Click the green Create Workflow button in the top-right.
Step 3 — Choose a document type
Section titled “Step 3 — Choose a document type”A centred dialog appears titled Choose a Document Type, listing the document types in your site that have at least one blueprint available.
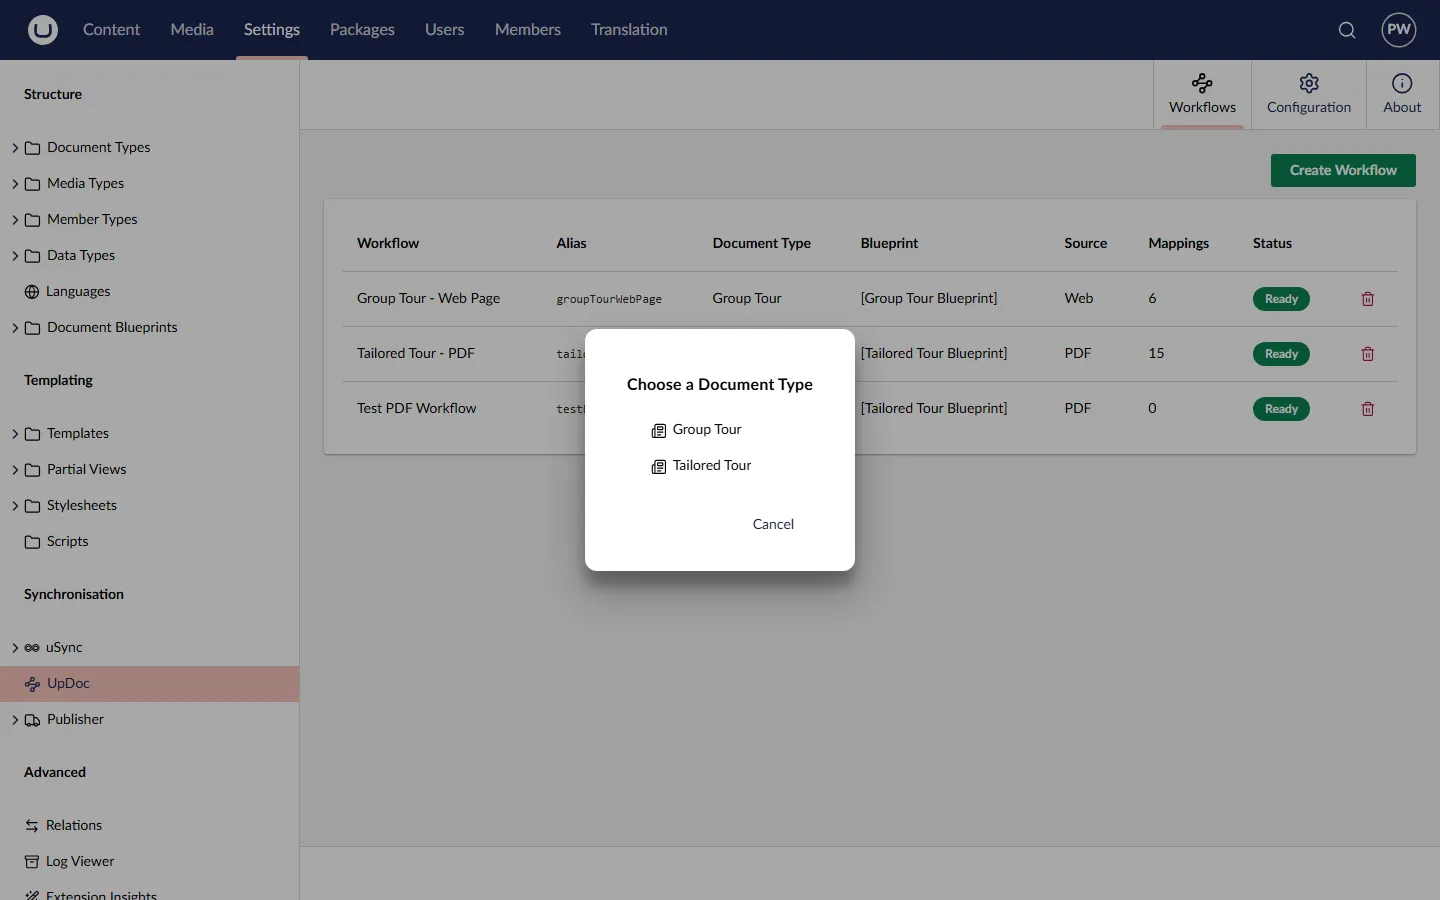
Click the document type you want this workflow to target. In this example we’ll use Tailored Tour — these are the documents built from PDFs in our project.
Step 4 — Select a blueprint
Section titled “Step 4 — Select a blueprint”The dialog now shows Select a Document Blueprint with the blueprints available for the document type you just chose. If there’s only one, it’s your only option; if there are several, all are listed.
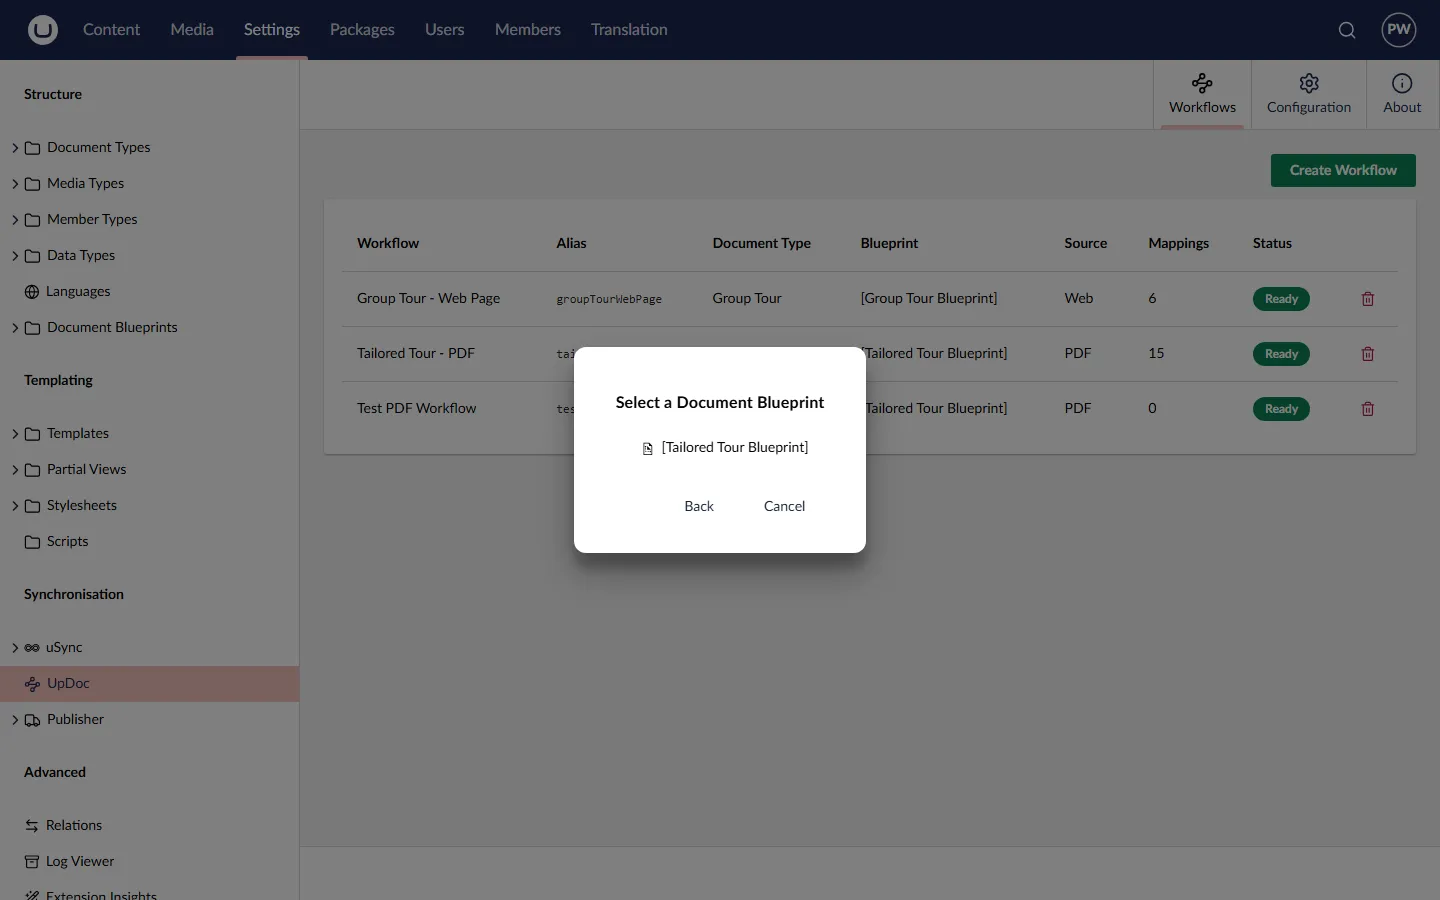
- Back returns to the document type picker
- Cancel closes the dialog entirely
Click the blueprint you want. In this example, [Tailored Tour Blueprint].
Step 5 — Review the Destination tab
Section titled “Step 5 — Review the Destination tab”The dialog closes and a Create Workflow sidebar slides in, with two tabs in the top-right: Source (active) and Destination.
Click the Destination tab first. It’s already filled in based on your choices in the previous dialogs:
- Document Type — Tailored Tour
- Blueprint — [Tailored Tour Blueprint]
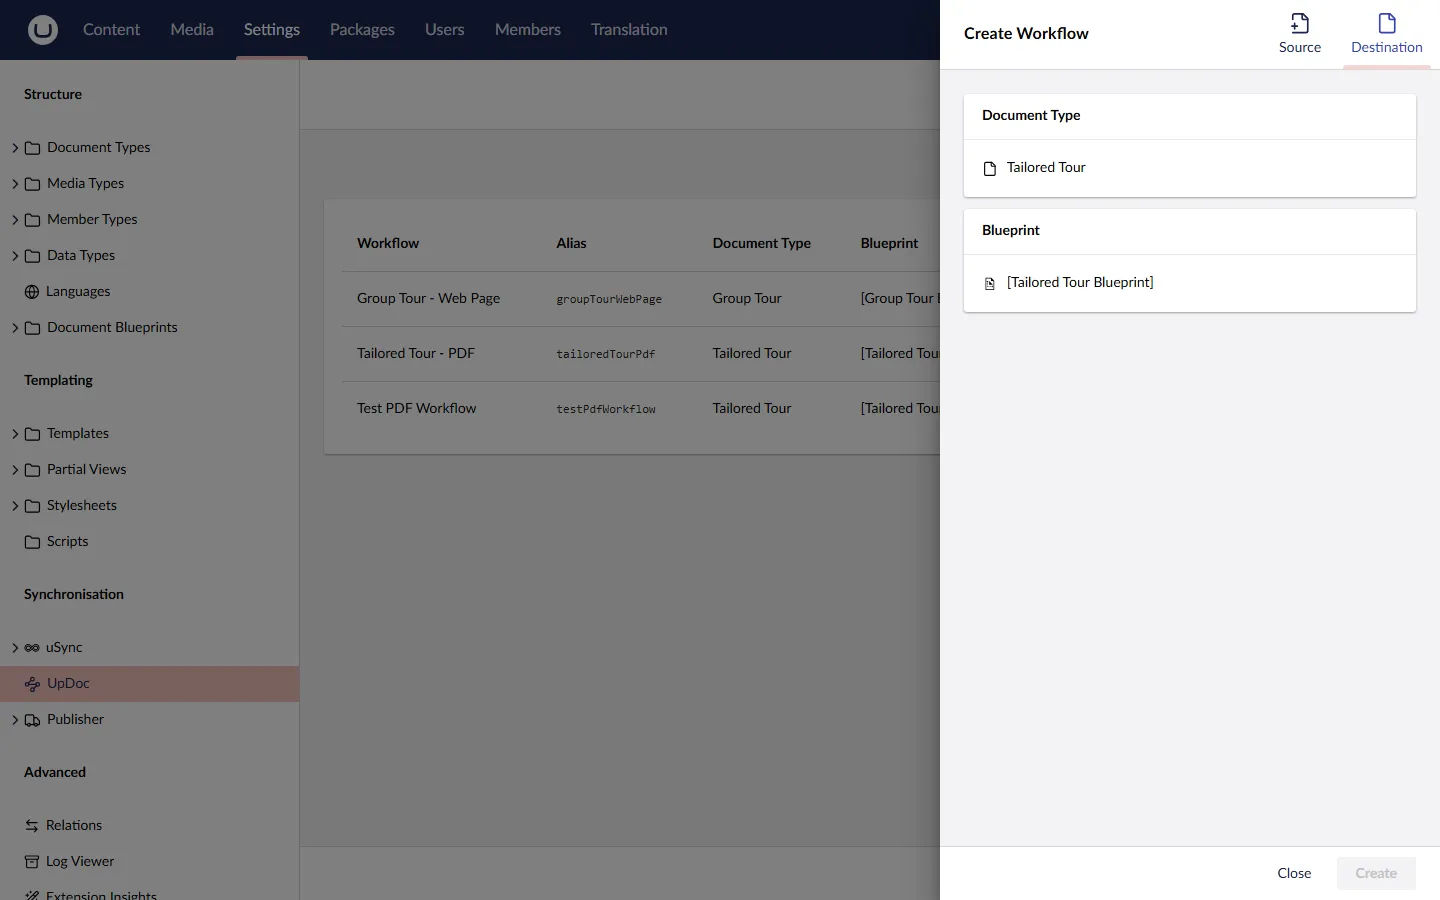
You don’t need to do anything here — it’s informational. This tab lets you confirm your choices before you start configuring the source.
Step 6 — Switch to the Source tab
Section titled “Step 6 — Switch to the Source tab”Click back to the Source tab. This is where you’ll do all the configuration work for the workflow.
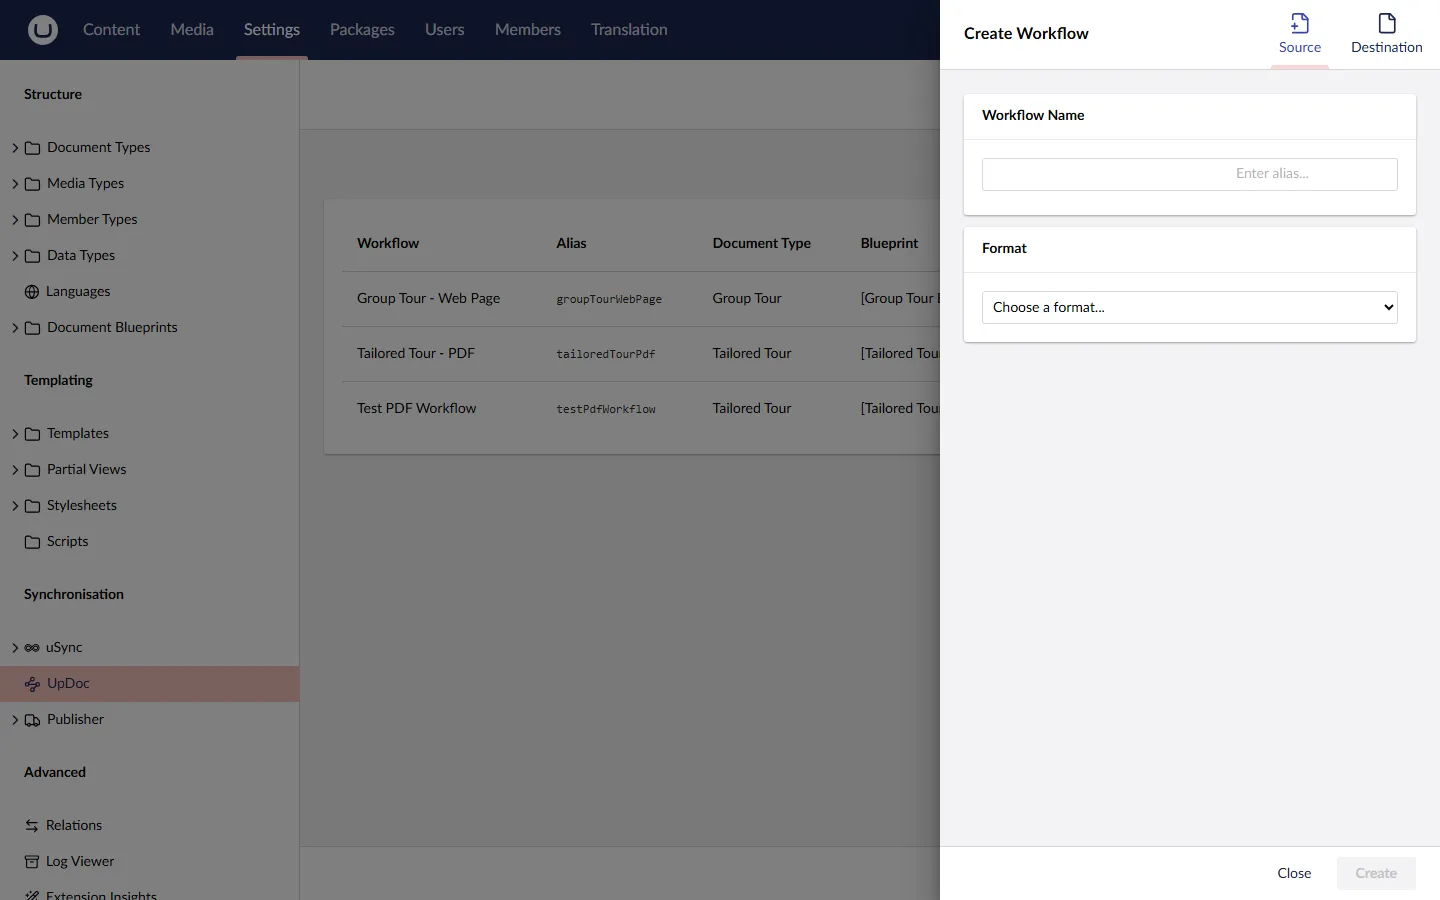
At the start it shows two empty sections: Workflow Name and Format.
Step 7 — Name the workflow and choose a format
Section titled “Step 7 — Name the workflow and choose a format”Type a name into the Workflow Name field. As you type, the alias (the machine-readable identifier used for the workflow folder on disk) appears greyed-out to the right. For example, typing “Test PDF Workflow” auto-derives the alias testPdfWorkflow.
Click the Format dropdown. The four source types are:
- PDF Document
- Markdown
- Web Page
- Word Document
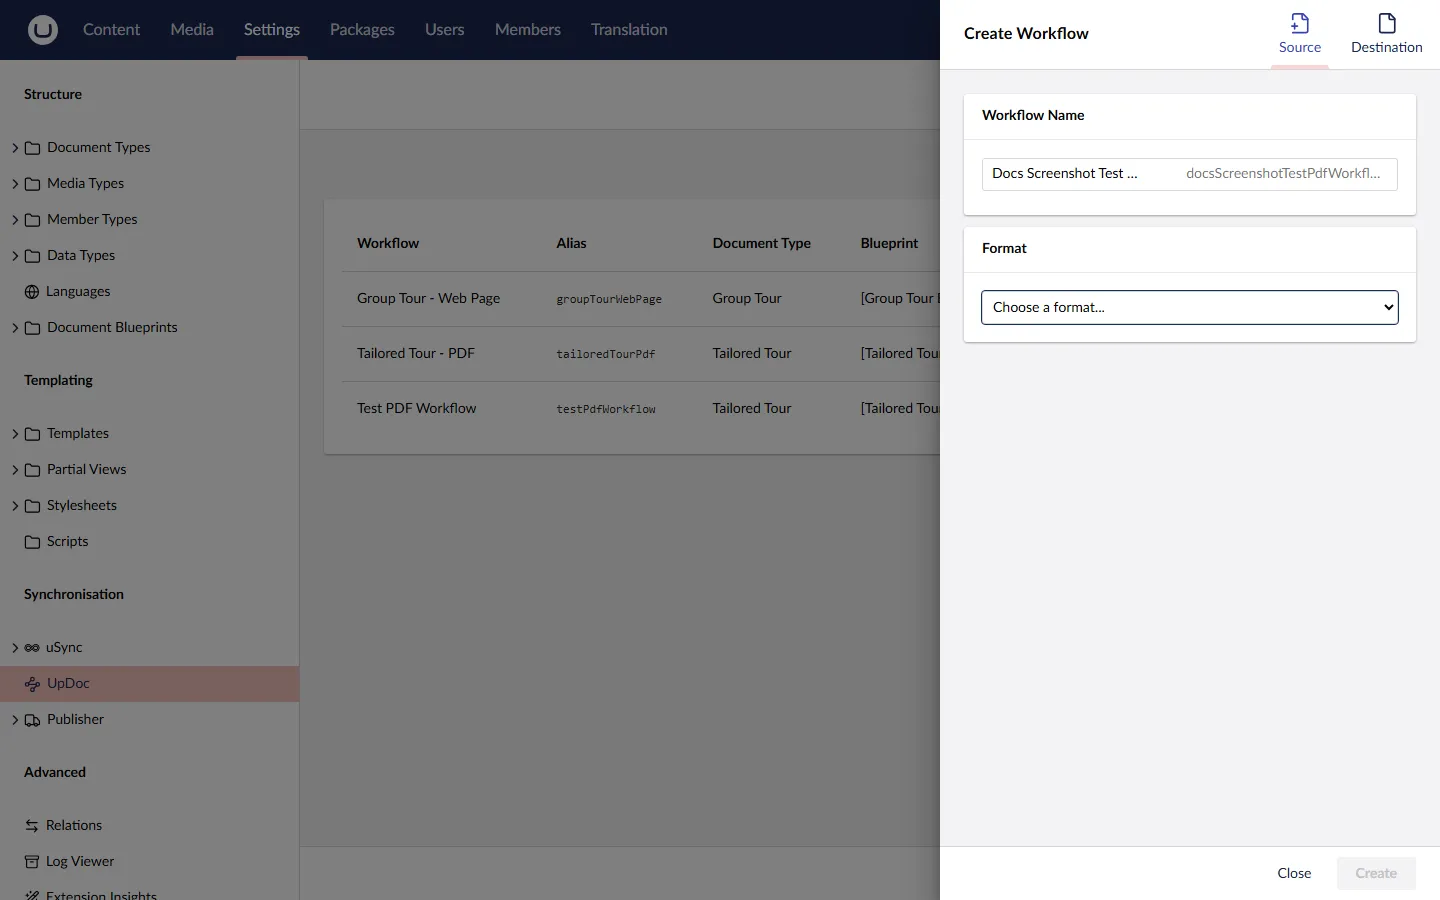
Choose PDF Document.
Step 8 — Choose a sample document
Section titled “Step 8 — Choose a sample document”As soon as you pick a format, a Sample Document section appears below. It contains a dashed drop area with a + Choose button in the middle.
The sample document is the template for this workflow. UpDoc uses it to work out what content looks like and what rules to apply. All future PDFs you process through this workflow should follow roughly the same format as the sample.
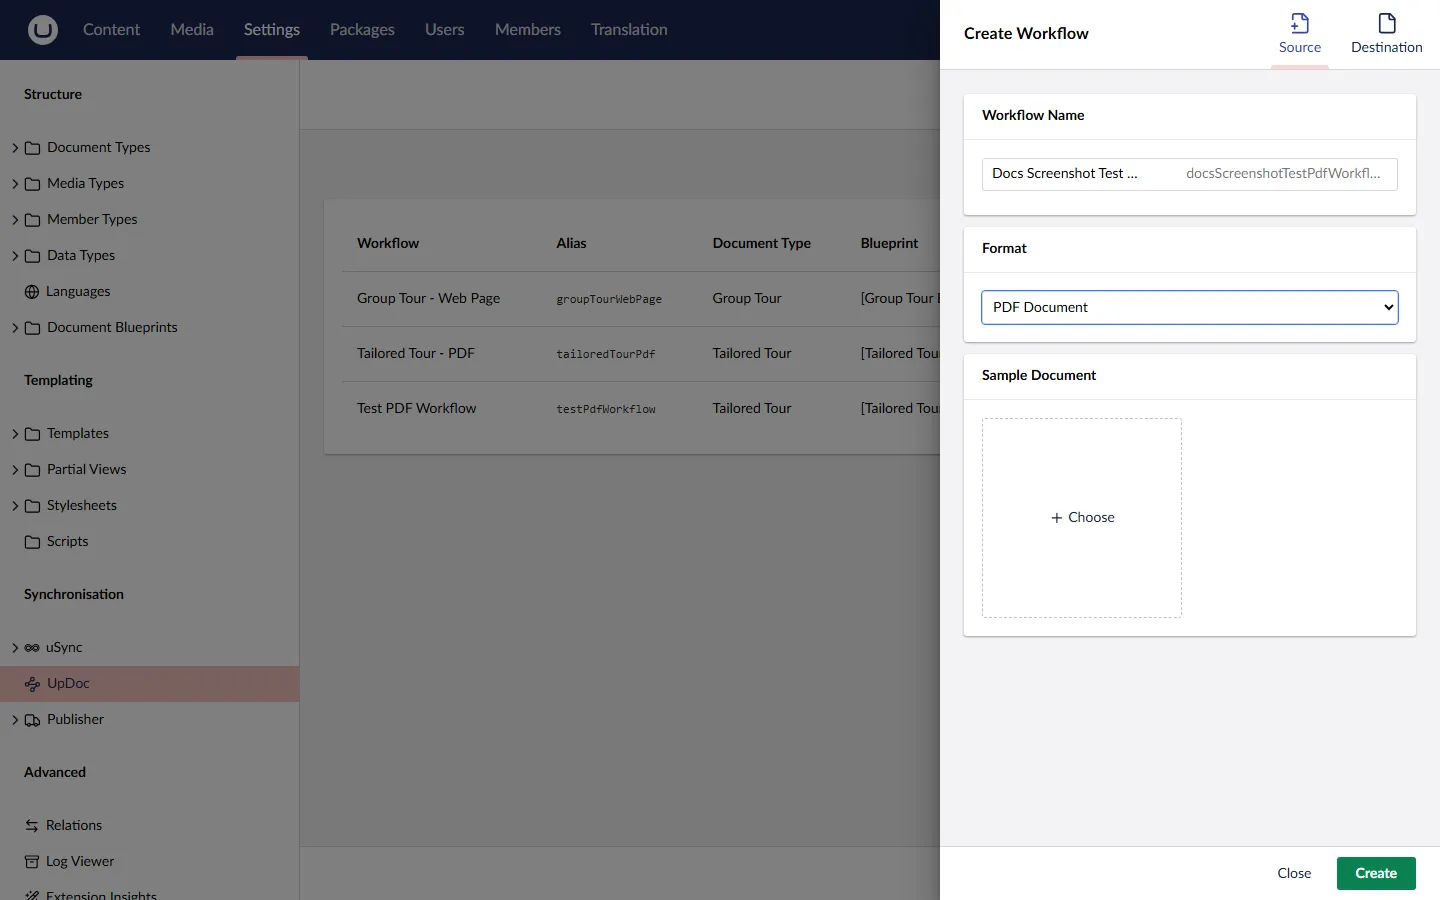
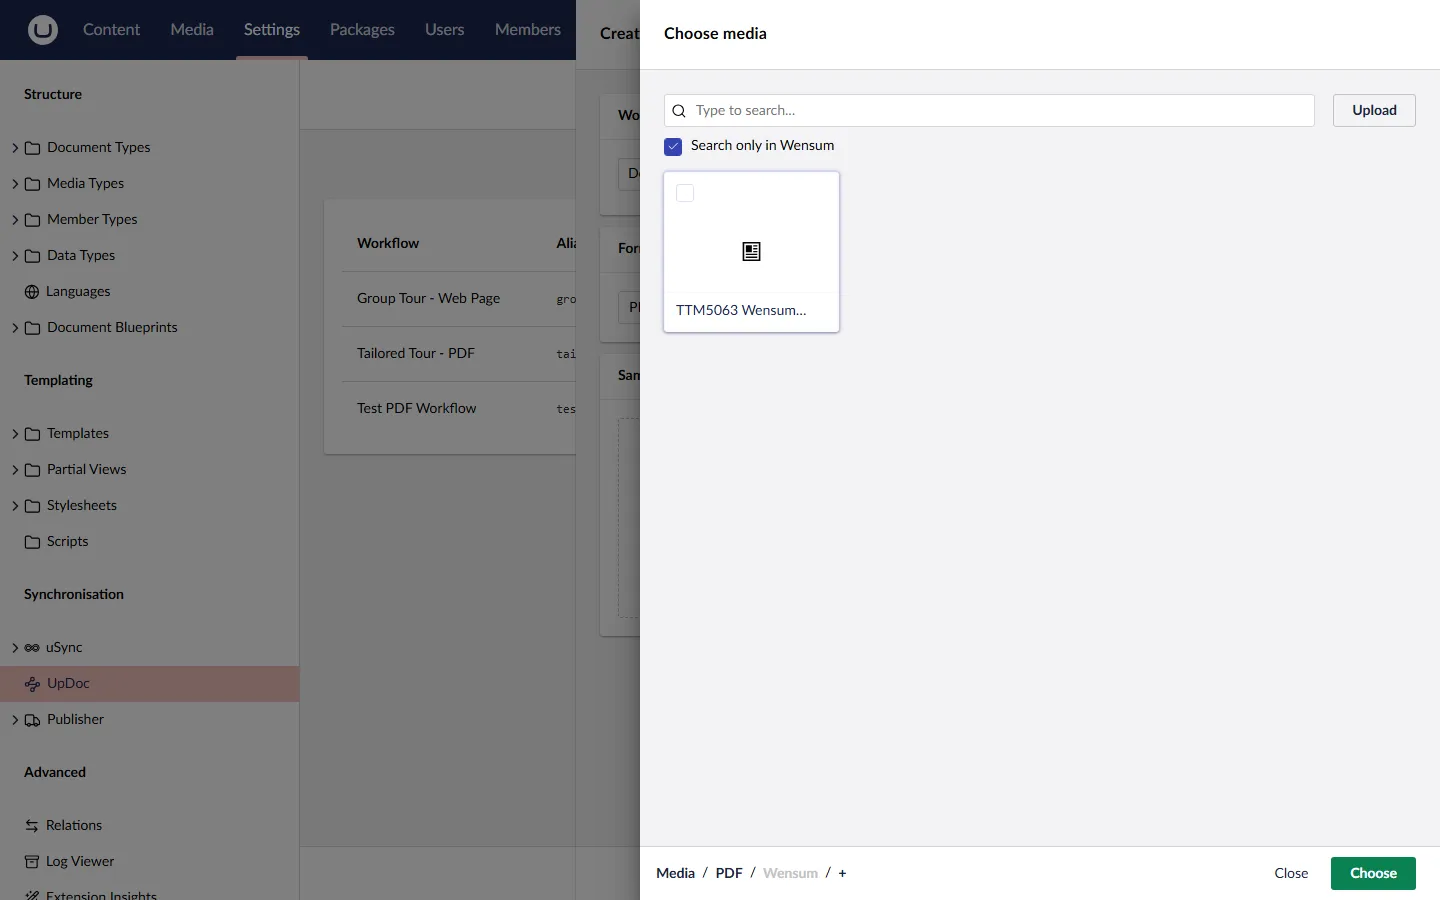
Click + Choose. The Umbraco media picker opens, filtered to show only PDFs.
Browse your media library and select the sample PDF. Where you find it depends on how your media library is organised — UpDoc doesn’t care about folder structure.
Step 9 — Review the sample
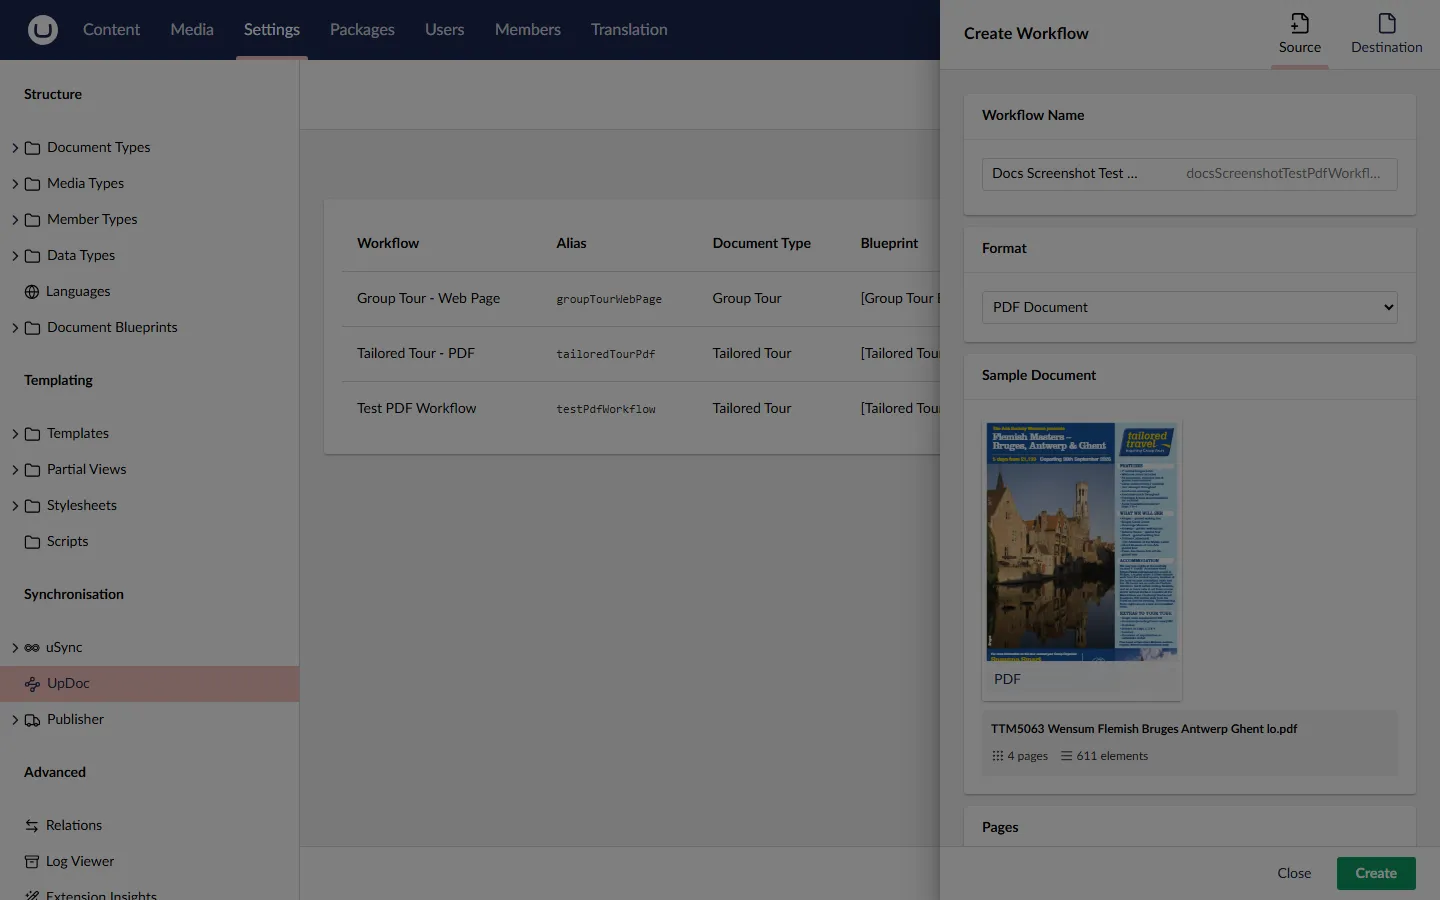
Section titled “Step 9 — Review the sample”Once you’ve selected the PDF, the Sample Document section updates to show:
- A thumbnail preview of the cover
- The file name
- Metadata: the total page count and element count (e.g. “4 pages · 611 elements”)
A new Pages section also appears, showing all pages included by default and a Choose Pages button.
Step 10 — Narrow the pages (optional)
Section titled “Step 10 — Narrow the pages (optional)”By default UpDoc extracts from every page. If you want to skip pages — for example, booking terms and conditions that shouldn’t drive extraction rules — click Choose Pages.
A Select pages to include dialog opens with a thumbnail for each page. Every page is checked by default; a Deselect all button sits at the top.
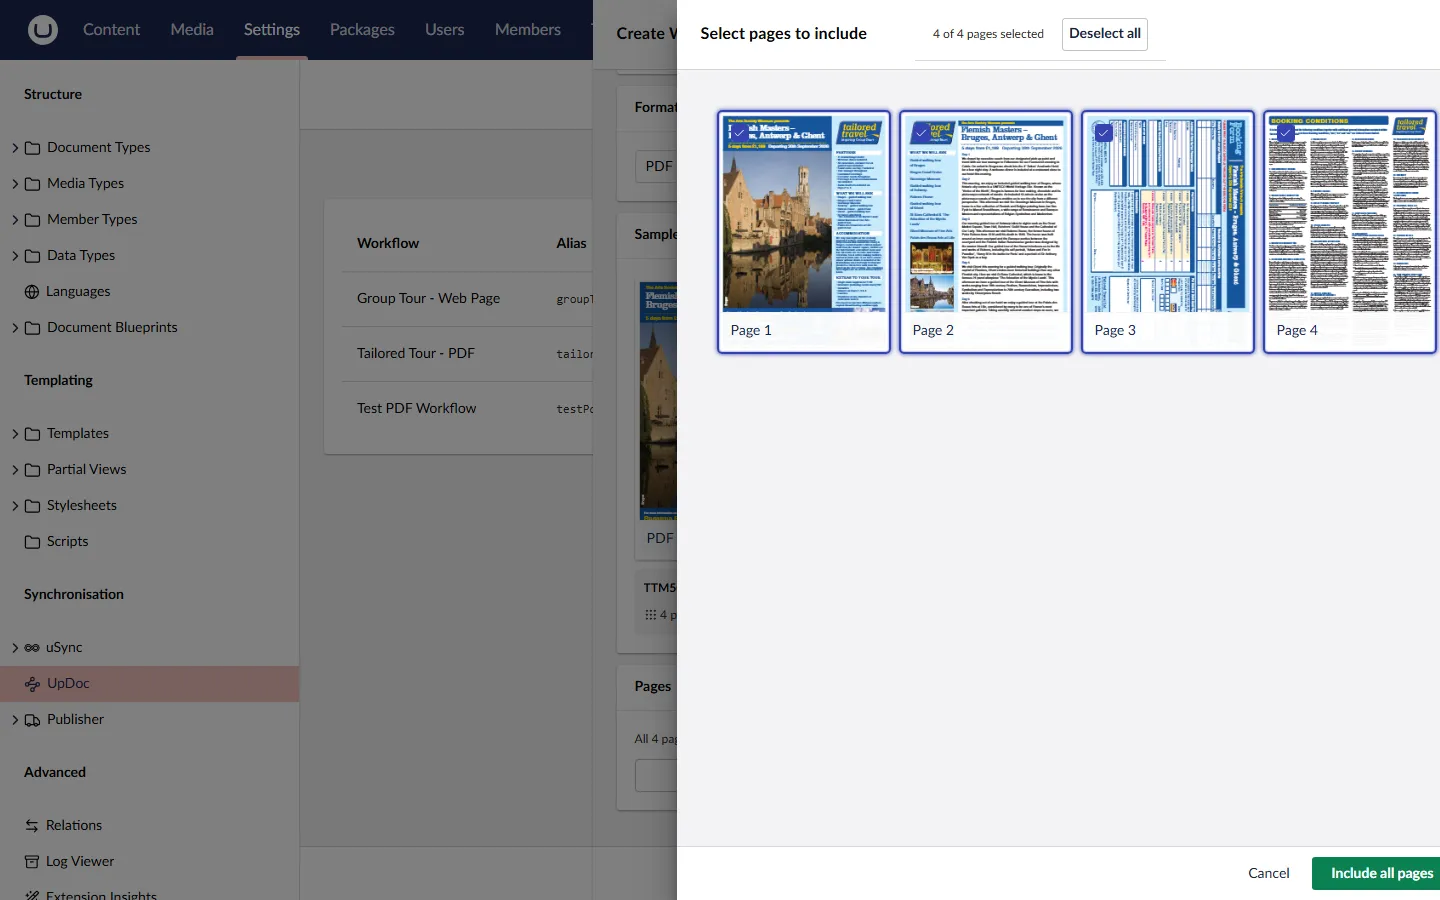
Deselect the pages you don’t need — clicking a card toggles its inclusion. In this example we might keep Page 1 only (the cover/itinerary) and drop the inner pages.
Confirm the selection. The dialog closes and the sidebar updates — the Pages section reflects your chosen count (e.g. “1 of 4 pages” instead of “All 4 pages”).
Step 11 — Create the workflow
Section titled “Step 11 — Create the workflow”Click the Create button at the bottom of the sidebar.
UpDoc creates the workflow folder, runs the sample PDF through extraction, and returns you to the Workflows list. Your new workflow appears in the table with 0 mappings and a Ready status — the configuration is valid, there’s just no mapping work done yet.
Step 12 — Open the workflow
Section titled “Step 12 — Open the workflow”Click the new workflow’s row to open its workspace.
The workspace shows the tabs from your blueprint (for a Tailored Tour, that’s Page Properties, Page Content, Tour Organiser). Three cards summarise the workflow at the top — Document Type, Blueprint, and Fields. Below, the full block grid shows every block from the blueprint with its properties listed.
At this point the workflow exists and has an extracted sample, but no content has been mapped yet. Nothing will happen if you try to create a document from source — UpDoc won’t know where to put anything.
What’s next
Section titled “What’s next”The workflow is created, but the work isn’t done. The next step is to create mappings between source content and destination fields — that’s covered in the Mapping a Workflow guide (coming soon).